"War is just when it is necessary; arms are permissible when there is no hope except in arms."
Niccolo Machiavelli
Welcome friend, to the page that asks, "Rome or Geneva, or Wittenburg"?
---------------------------
Contact us
The Perfect Captain
---------------------------
A complete system of warfare for late 16th Century Europe Including Large & Small scale land warfare modules, one for Naval warfare, a Campaign, a Siege Game, a dueling module, and even piracy in the Caribbean!
Spanish Fury, Battle! 2nd Edition
Farewell, adieu, that courtly life,
To war we tend to go;
It is good sport to see the strife
Of soldiers in a row.
How merrily they forward march
These enemies to slay:
With hey trim and trixie too,
Their banners to display.
Now shall we have the golden cheats
When others want the same;
And soldiers have full many feats
Their enemies to tame:
With cocking here and booming there
They break their foes array:
And lusty lads among the fields
Their ensigns do display.
The drum and flute play lustily,
The trumpet blows amain,
And venturous knights courageously
Do march before their train:
With spears in rest so lively drest
In armour bright and gay;
With hey trim and trixie too,
Their banners they display.
John Pickering, 1567
What is Pistolado II?
Miniatures rules meant to handle large engagements in the Wars of Religion, such as Dreux, Jarnac, and Jemmingen. Each stand represents a company (about 100-150 men), and the basic maneuver element is the regiment (8-20 companies). Regiments are organized into brigades under the vast array of historical leaders available. We have included FIVE scenarios (Langside 1568, Moncontour 1569, Mookerheyde 1574, Coutras 1587, and Nieuport 1600) to help you get into the system.
PISTOLADO II
Comprehensive, but not daunting
We have tried to include everything in these rules, from simulating historical infantry and cavalry formations to the moods of the officers who command them. There are dozens of different types of regiments, from Scots Border Horse to French Gendarmes to Papal Mercenaries! There are rules for the confidence level and morale characteristics of different nationalites. Don't worry though- it's all been graphically packaged to maximize ease of play and minimize searching through the rules.
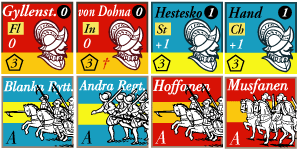
Regiment cards are kept handy by the player so they can quickly tell you everything a regiment can do. They include info on its fighting and morale characteristics; how well it maintains order, and its quality.
Officer counters are placed on the Army sheet beside the player, and are represented on the tabletop by a command stand. Officers can influence the entire army or just the regiments in their brigade, in a number of ways.
The Army Sheet is where you place officer counters as well as regiment counters in their brigades. As you can see it's not complicated. This allows you to place orders and instantly know what your brigades are up to. It also shows you how the battle is affecting the army's confidence level.
The Quick Reference Sheet is the height of utility- not only does it have all the combat and movement charts, Orders and Officer details such as the Doubt table, is also an all-in-one measuring device for movement and firing!
The Rules Summary is a substitute for the rules, having just about everything you need to know that isn't already on the Quick Reference Sheet. It contains simplified breakdowns of everything at a glance. Excellent for teaching new players!
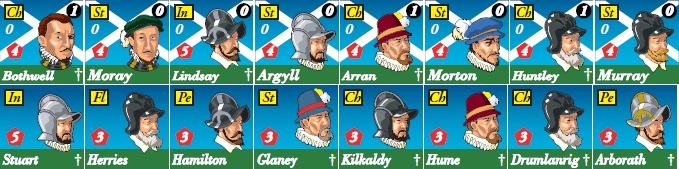
Introducing the doughty Portuguese- Thanks, Don Nuno!
Let our guides, John, Alessando, Louis, another Louis, Charles and James show you around. Just click on the image.
Which reminds me, we've also added the Scots this time around!
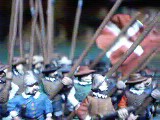
Check out Nordic Fury, Swedes vs Danes!
How about some examples of play, Cap'n?
Just click here!
Ten Pages of Examples!
The Art of War
Officers at the time had a lot of flexibility as far as organizing their regiments was concerned, so formations were not monolithic. We have tried to incorporate that into the rules, enabling players to shuffles companies around and experiment for themselves, just like contemporary military commentators! You might want to detach shot-armed companies to support cavalry, or deploy them as Enfants Perdus for some desperately contested terrain, or form a giant pike block out of several regiments. Try both, fitting available shot to a Swiss pike block. Add some Petronels to a Lance-armed regiment to give them a firepower component- it's up to you.
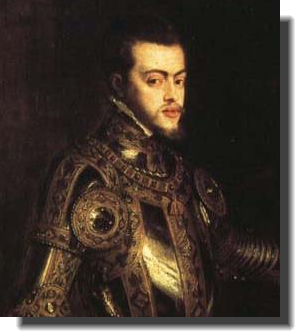
'Paris is mine' -Philip II
'No, it is not' -Henry IV
How about a scenario, replayed before our very eyes, Cap'n?
OK, here's the battle of Coutras, from the French Wars of Religion? Click on the image below:
Beyond all this, remember we have an active Yahoo group that supports Pistolado II, where all questions and comments are welcome.
Although designed for the original Pistolado, Dan Staberg's 'Nordic Fury' is an amazing supplement made for the Nordic Seven Years War.
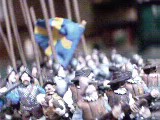
Landsknechts in 'Shot Forward' formation
Caracoling Reiters
Dutch Gendarmes with Skirmishing Horse attached
Pistolado II is part of the Spanish Fury system, and is designed to mesh with all of the modules, built around the Company. A single Stand in Pistolado corresponds to a six-stand company in Actions!, a single Company counter in Siege! and a single strength point in Campaign!
Scenarios
(click image)